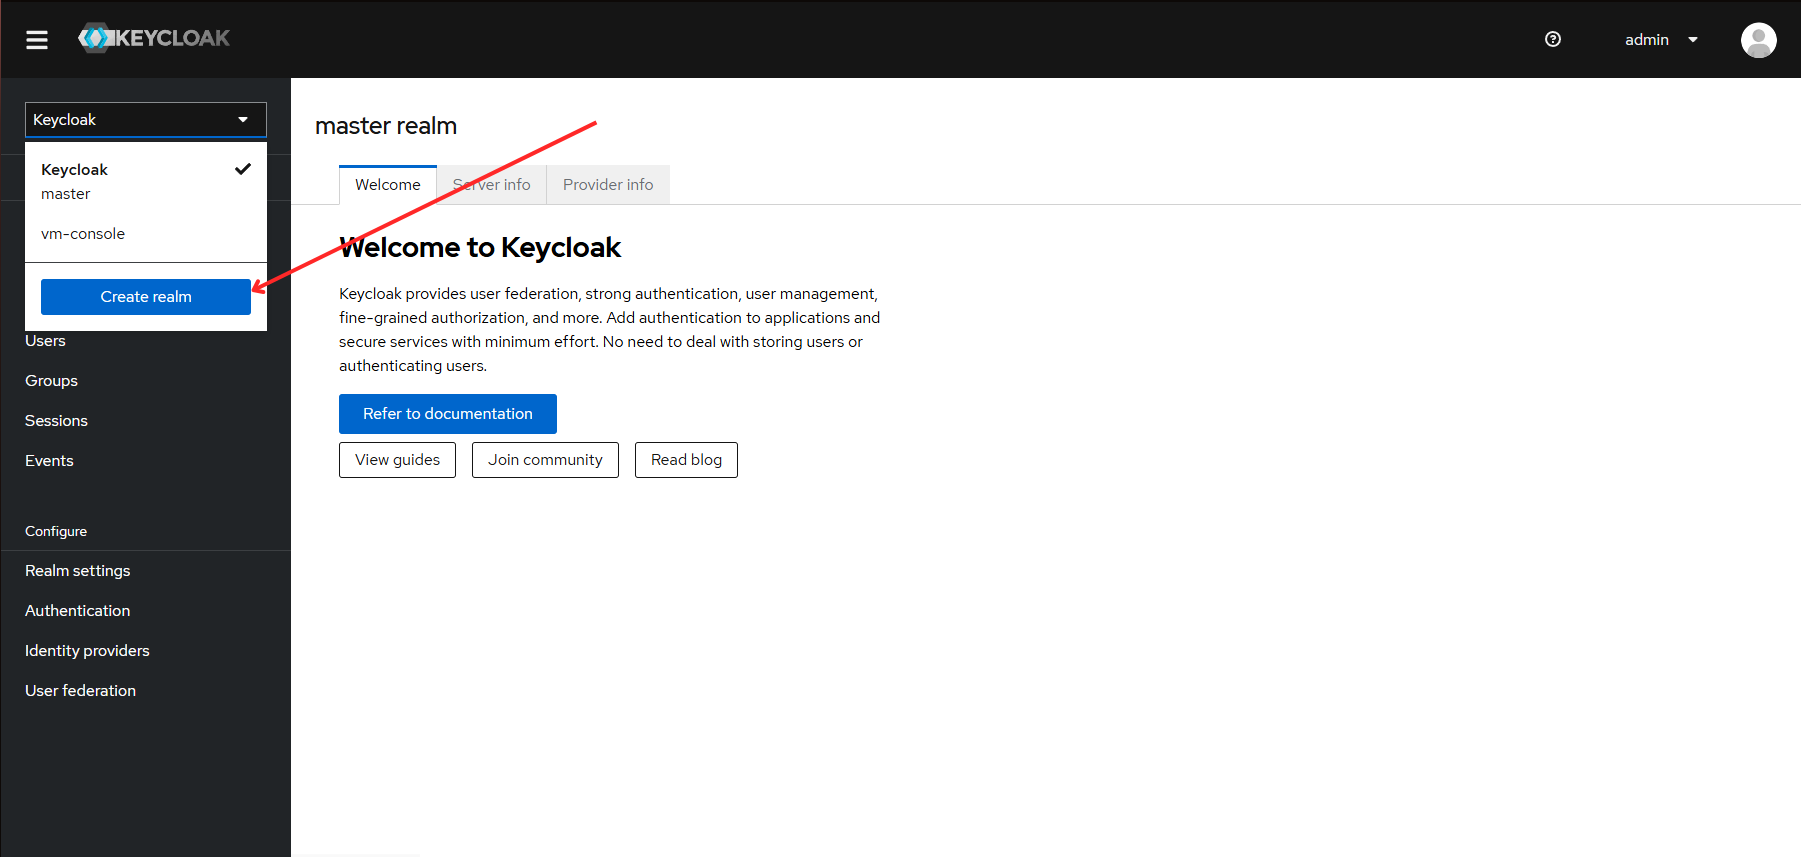
Create a New Realm
Start by creating a new realm in Keycloak for your Vexlo application.
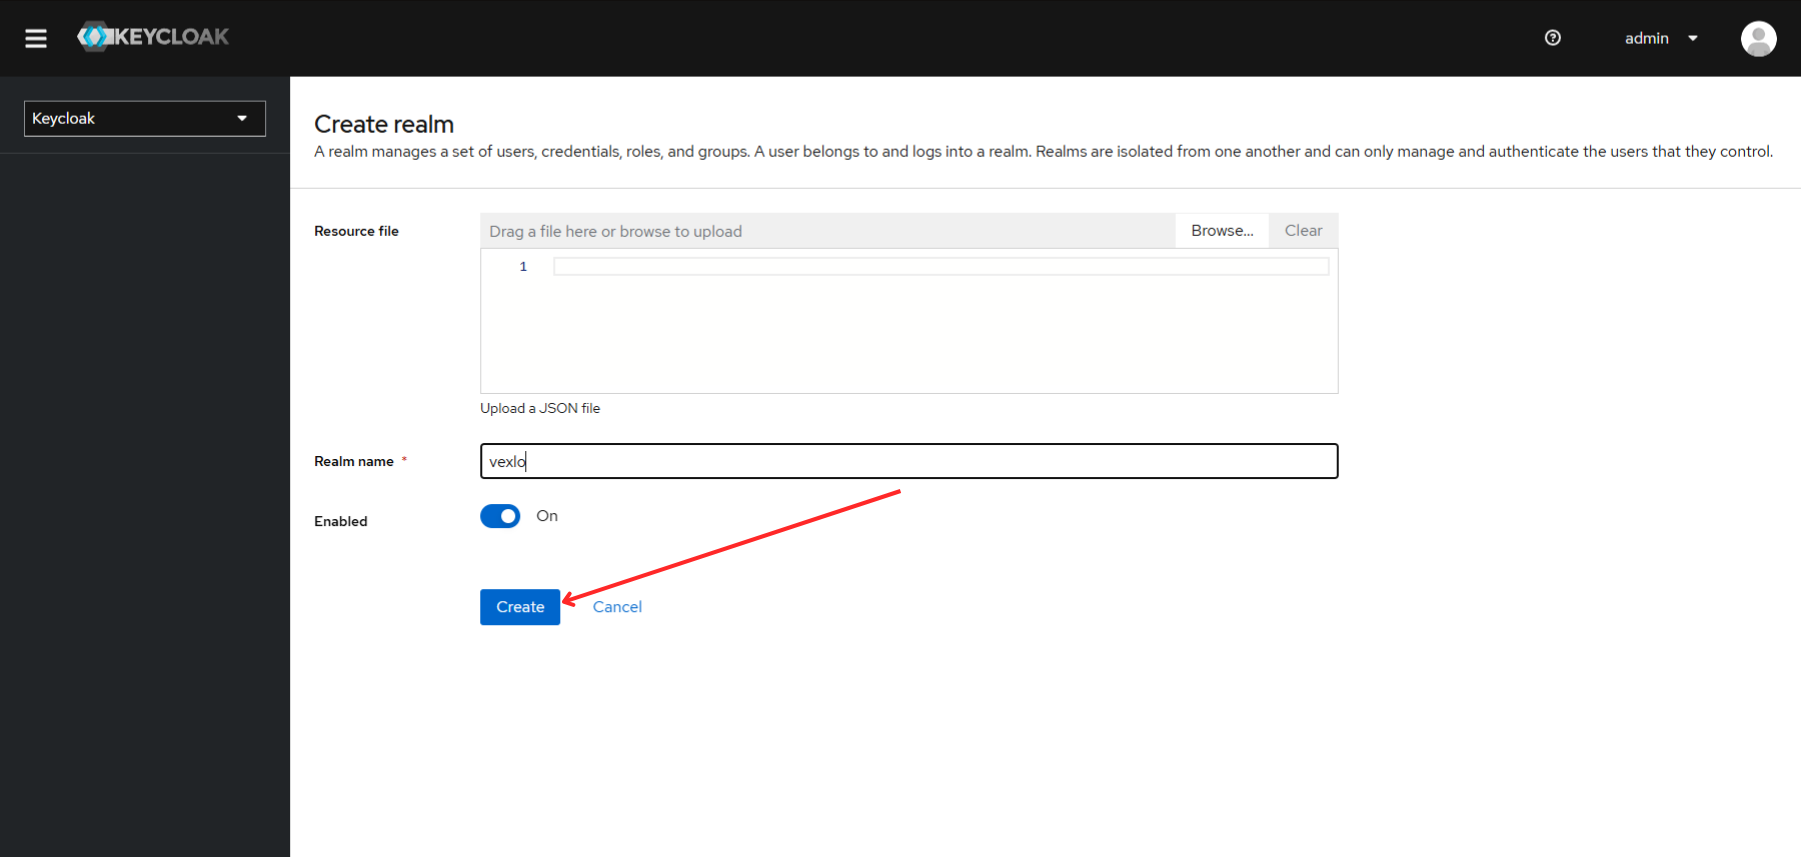
Give Your Realm a Name
Enter a descriptive name for your realm (e.g., "vexlo" or "ssh-console") and click Create.
Create OAuth Client
Navigate to Clients section and create a new client for Vexlo.

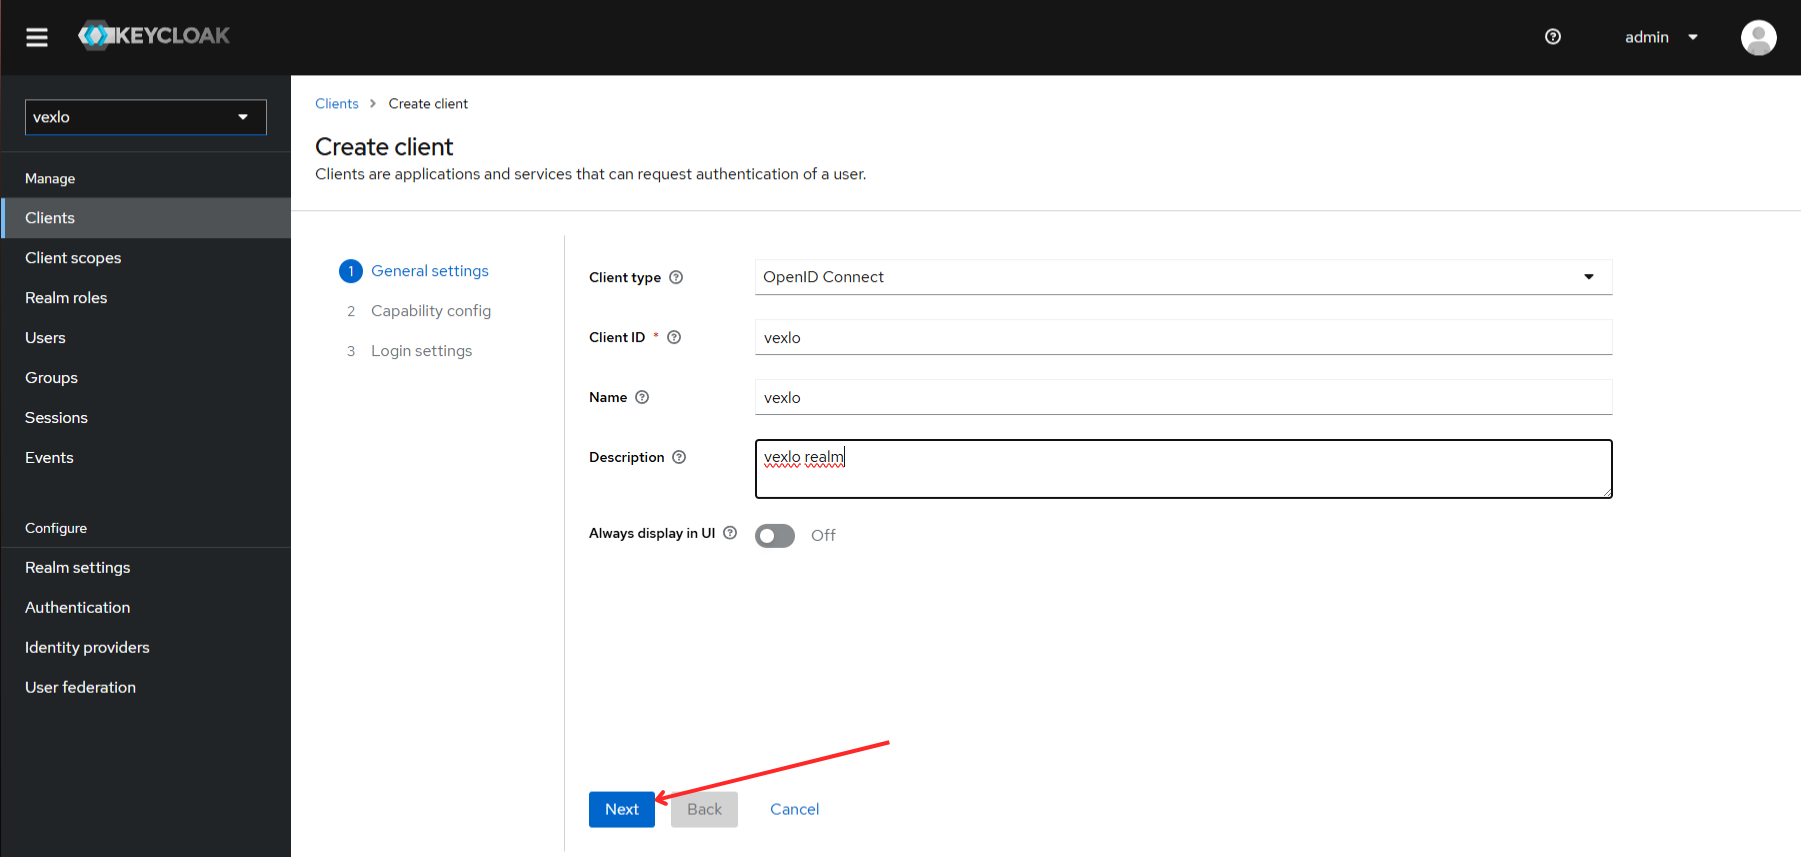
Configure Client Basic Settings
Enter your preferred Client ID name and configure basic client settings, then click Next.
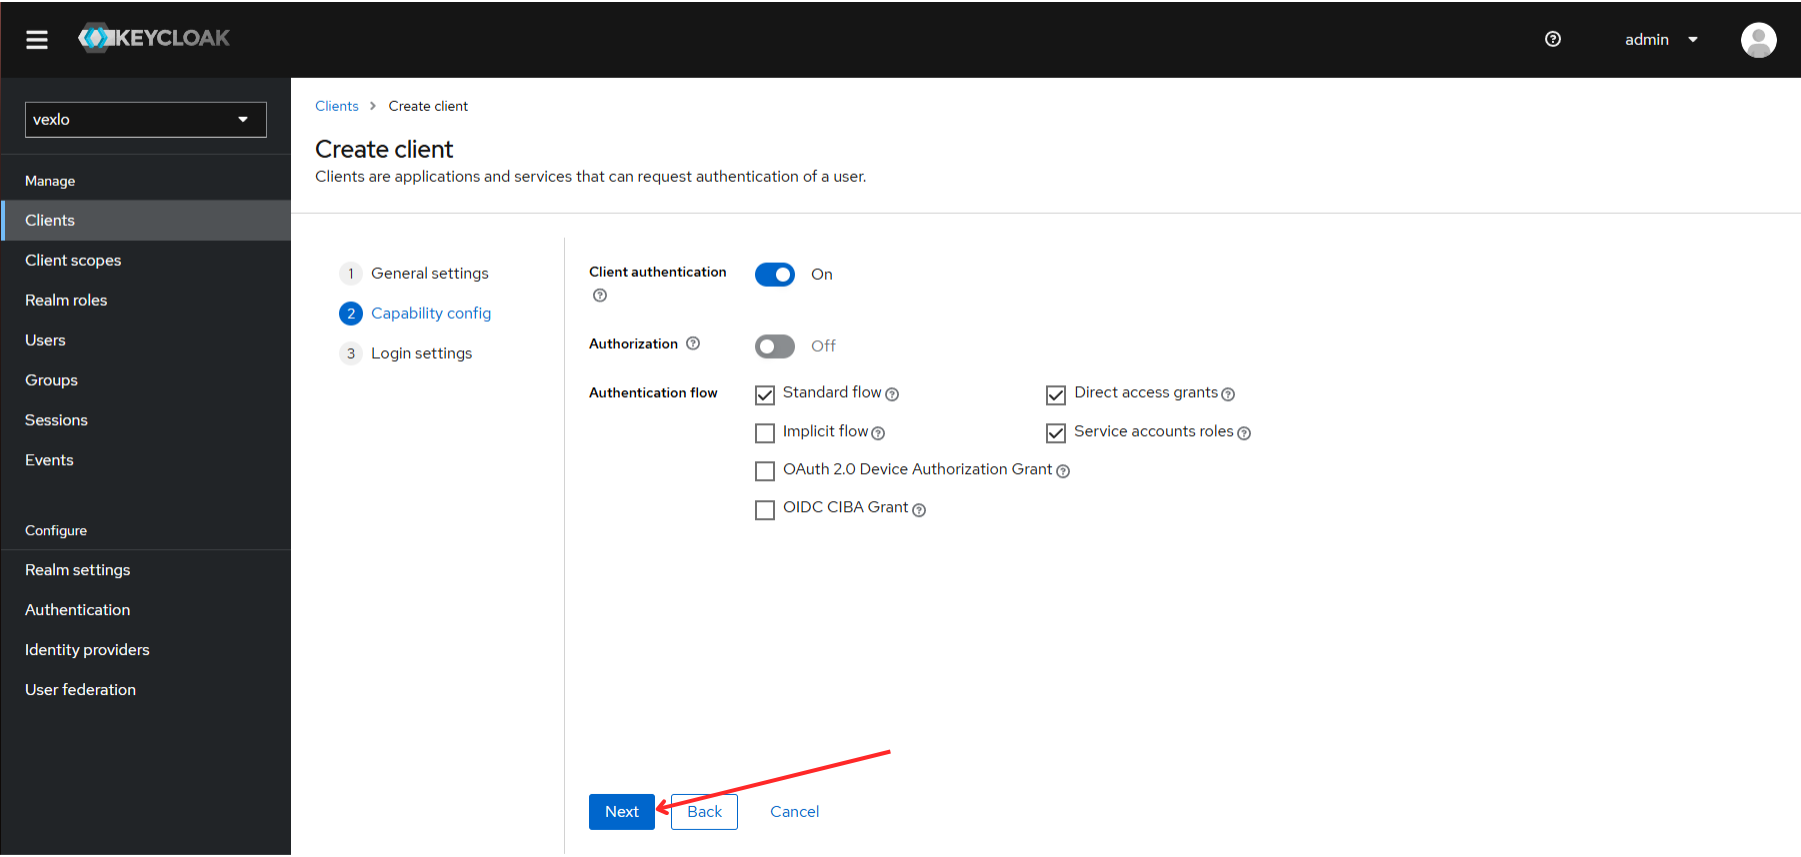
Configure Client Capabilities
Enable Client authentication and Service accounts roles, then click Next.
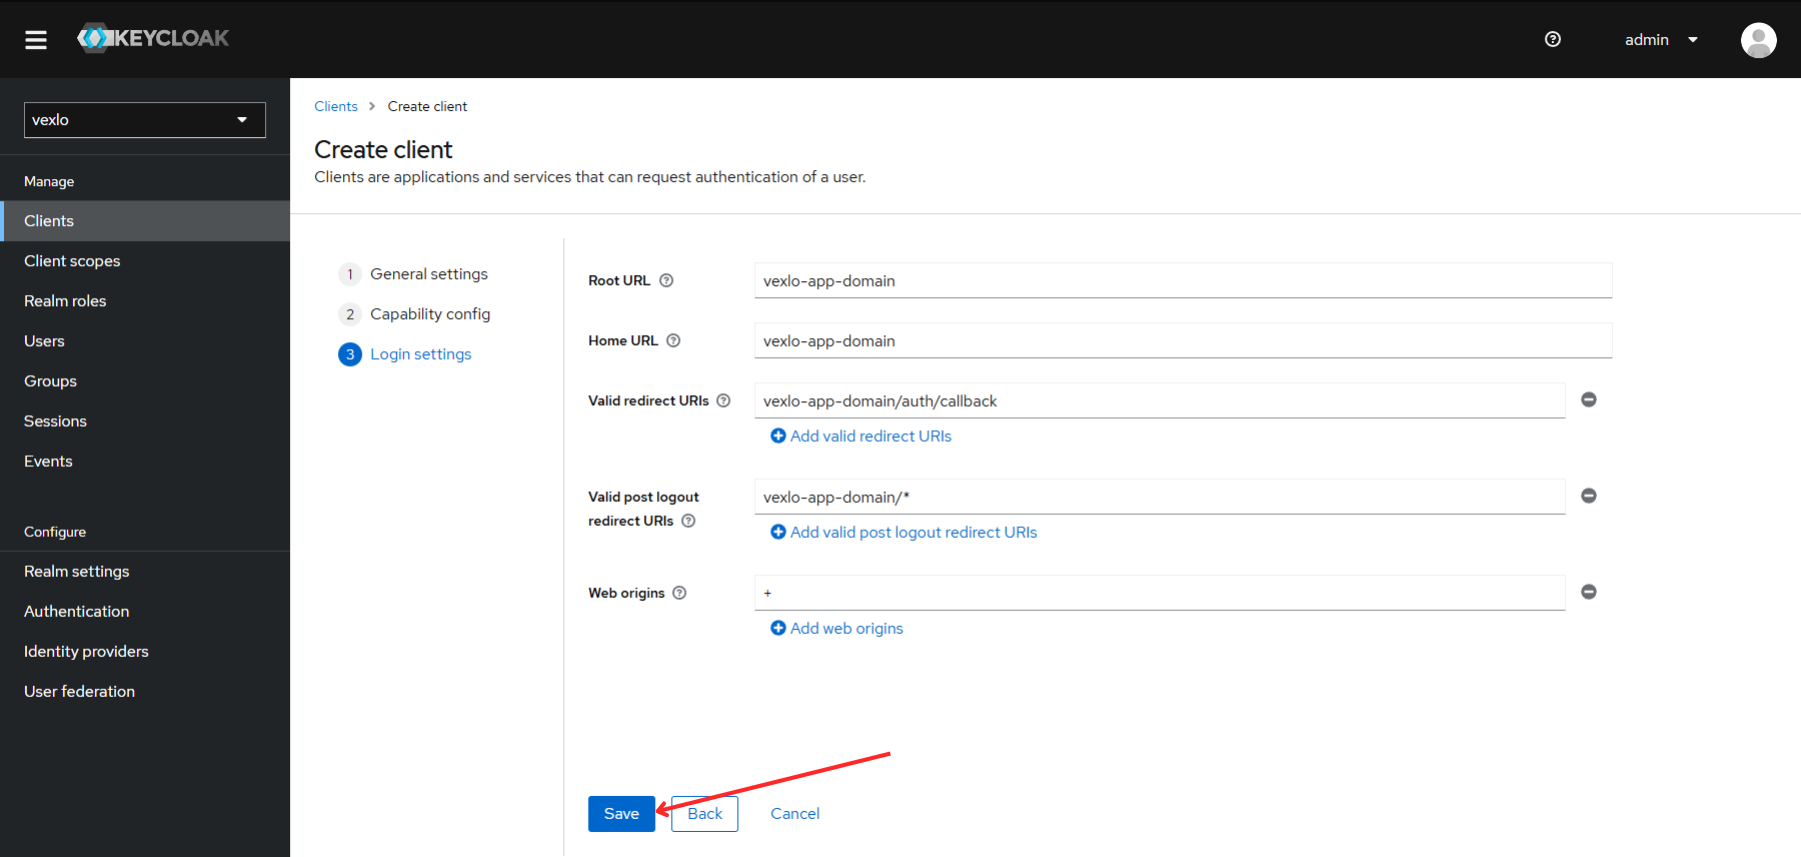
Configure Client Access Settings
Set up the redirect URIs and web origins for your Vexlo application, then Save.
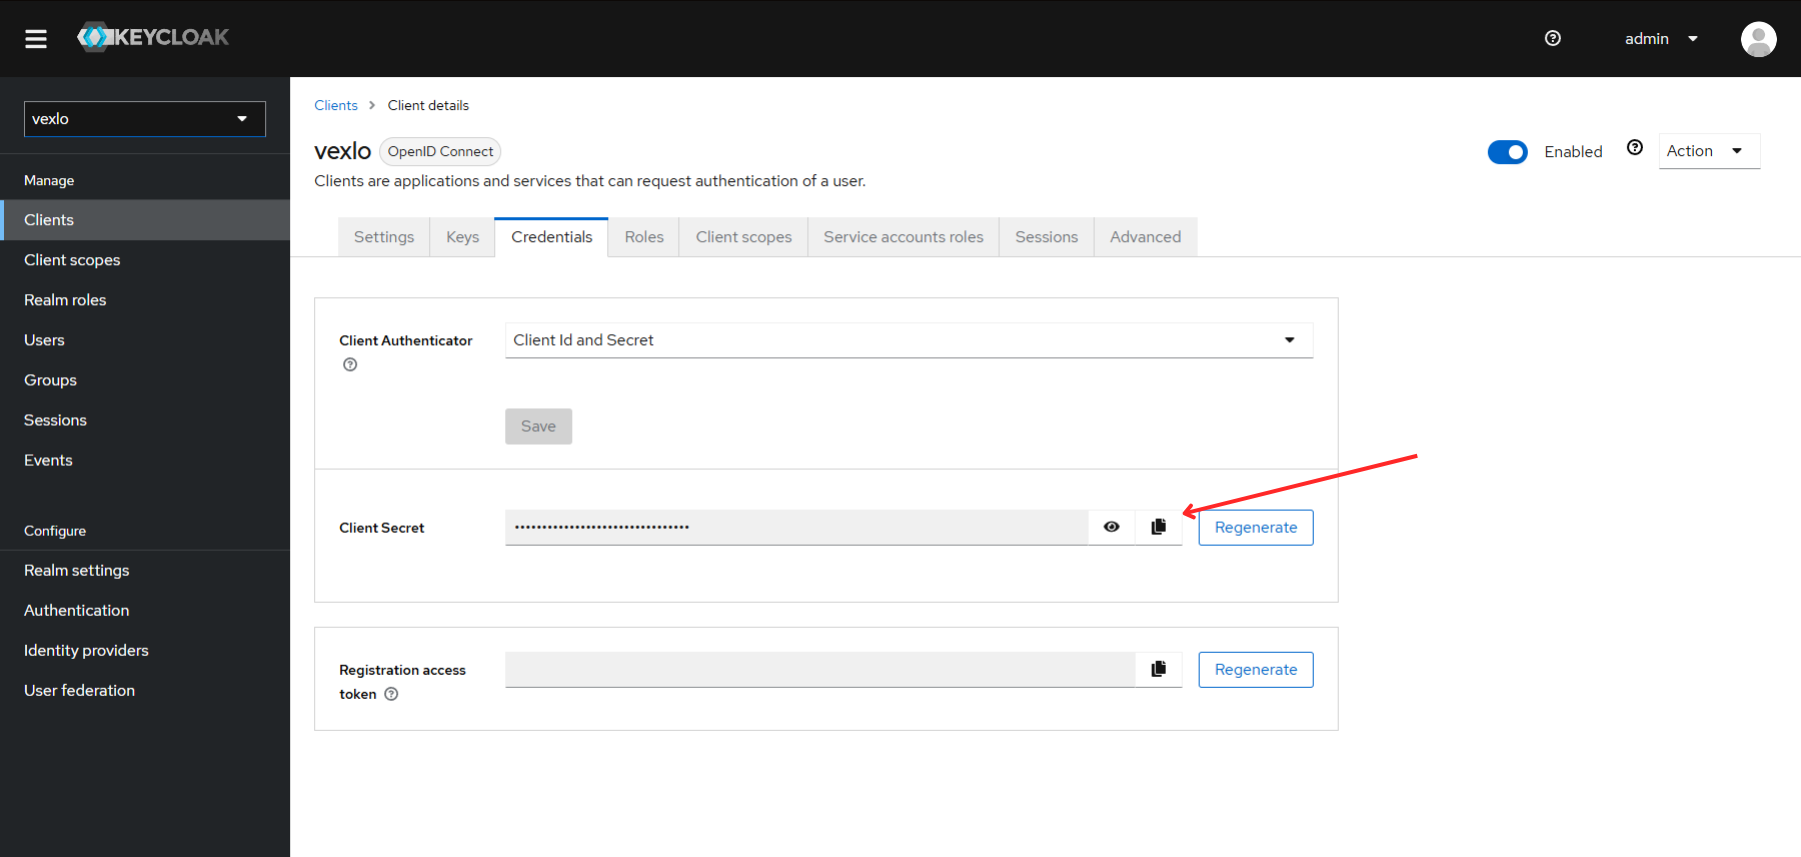
Copy Client Secret
Go to the Credentials tab and copy the client secret. You'll need this for your Vexlo configuration.
Configure Service Account Roles
Navigate to the Service Account Roles tab to assign necessary permissions.
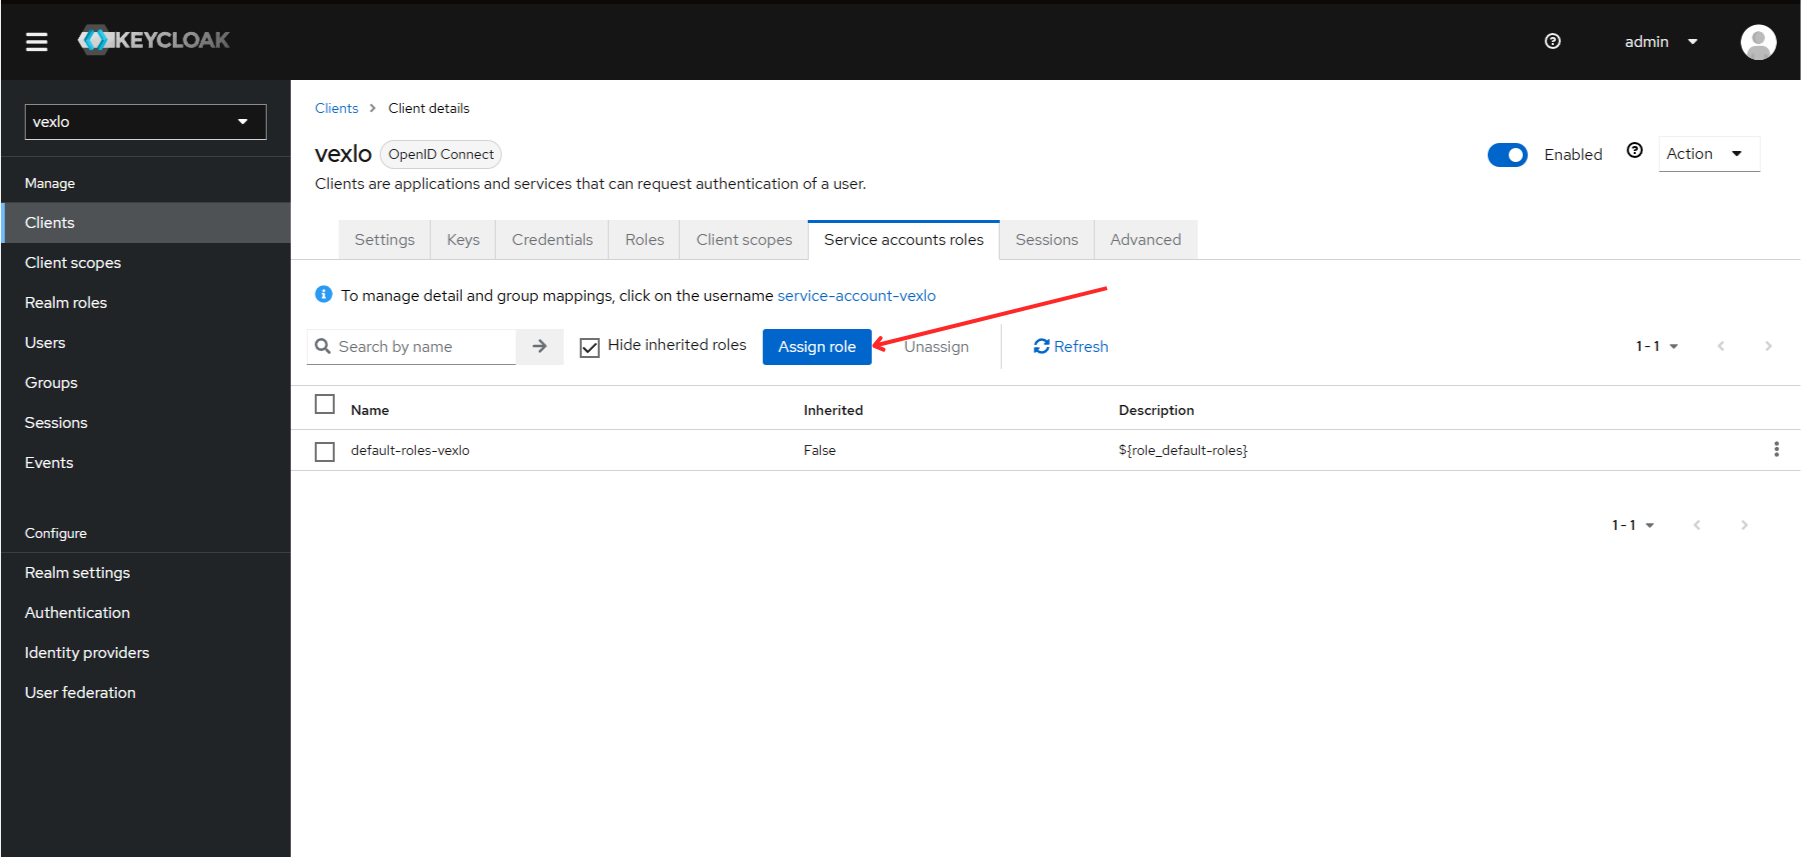
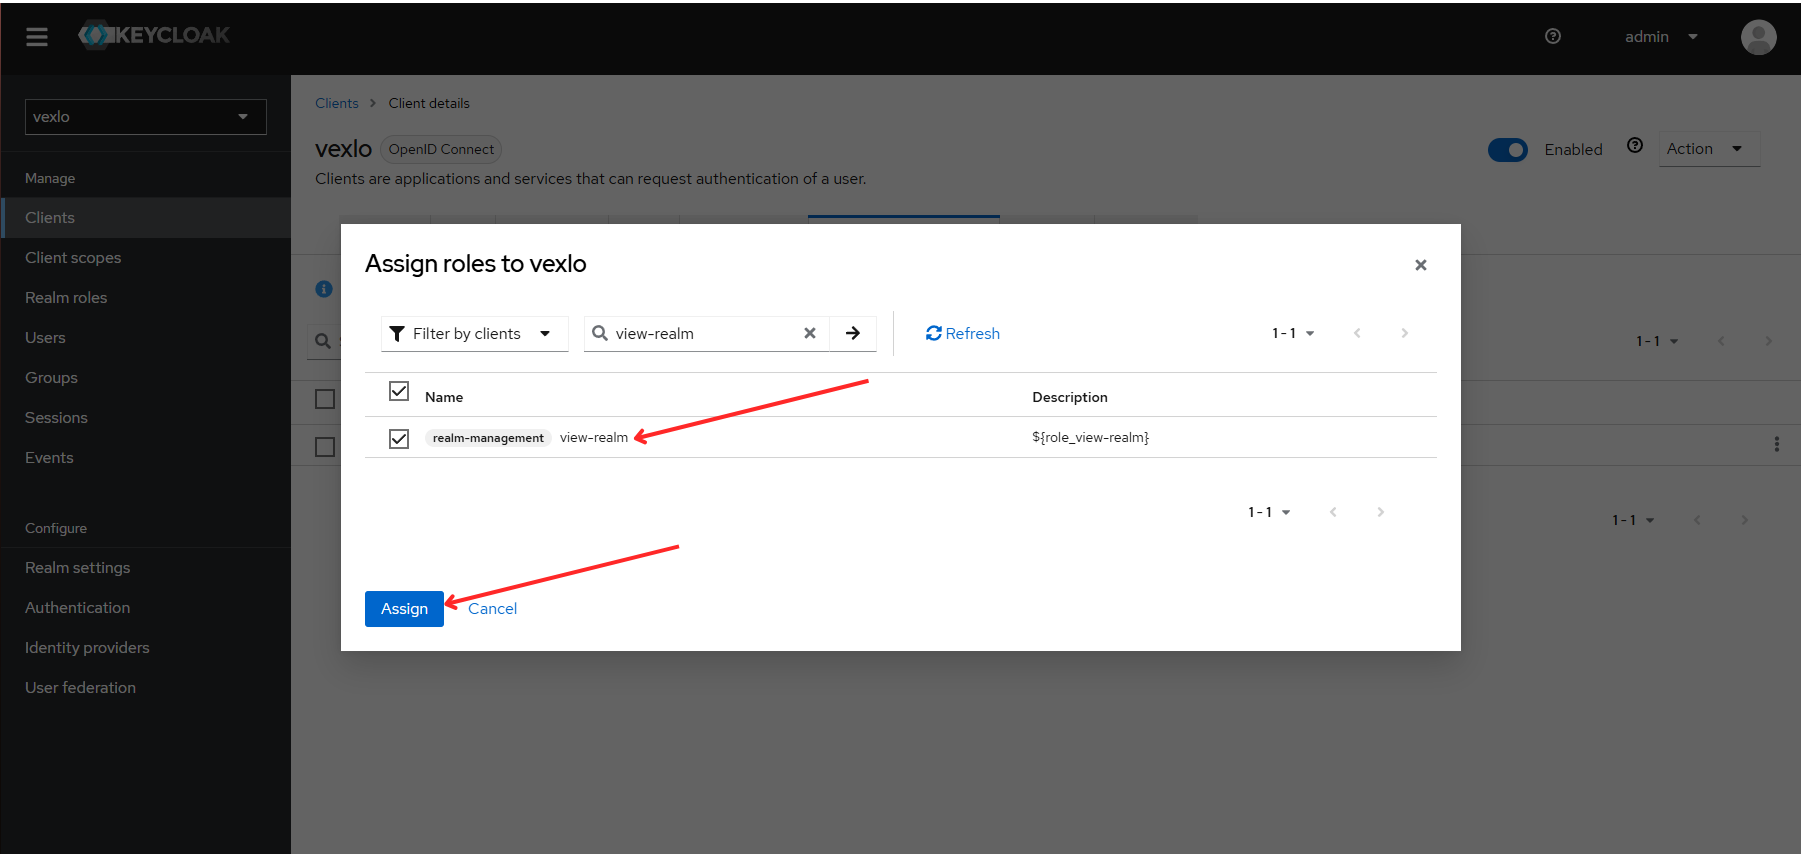
Assign View-Realm Role
Assign the view-realm role from realm-management client roles.
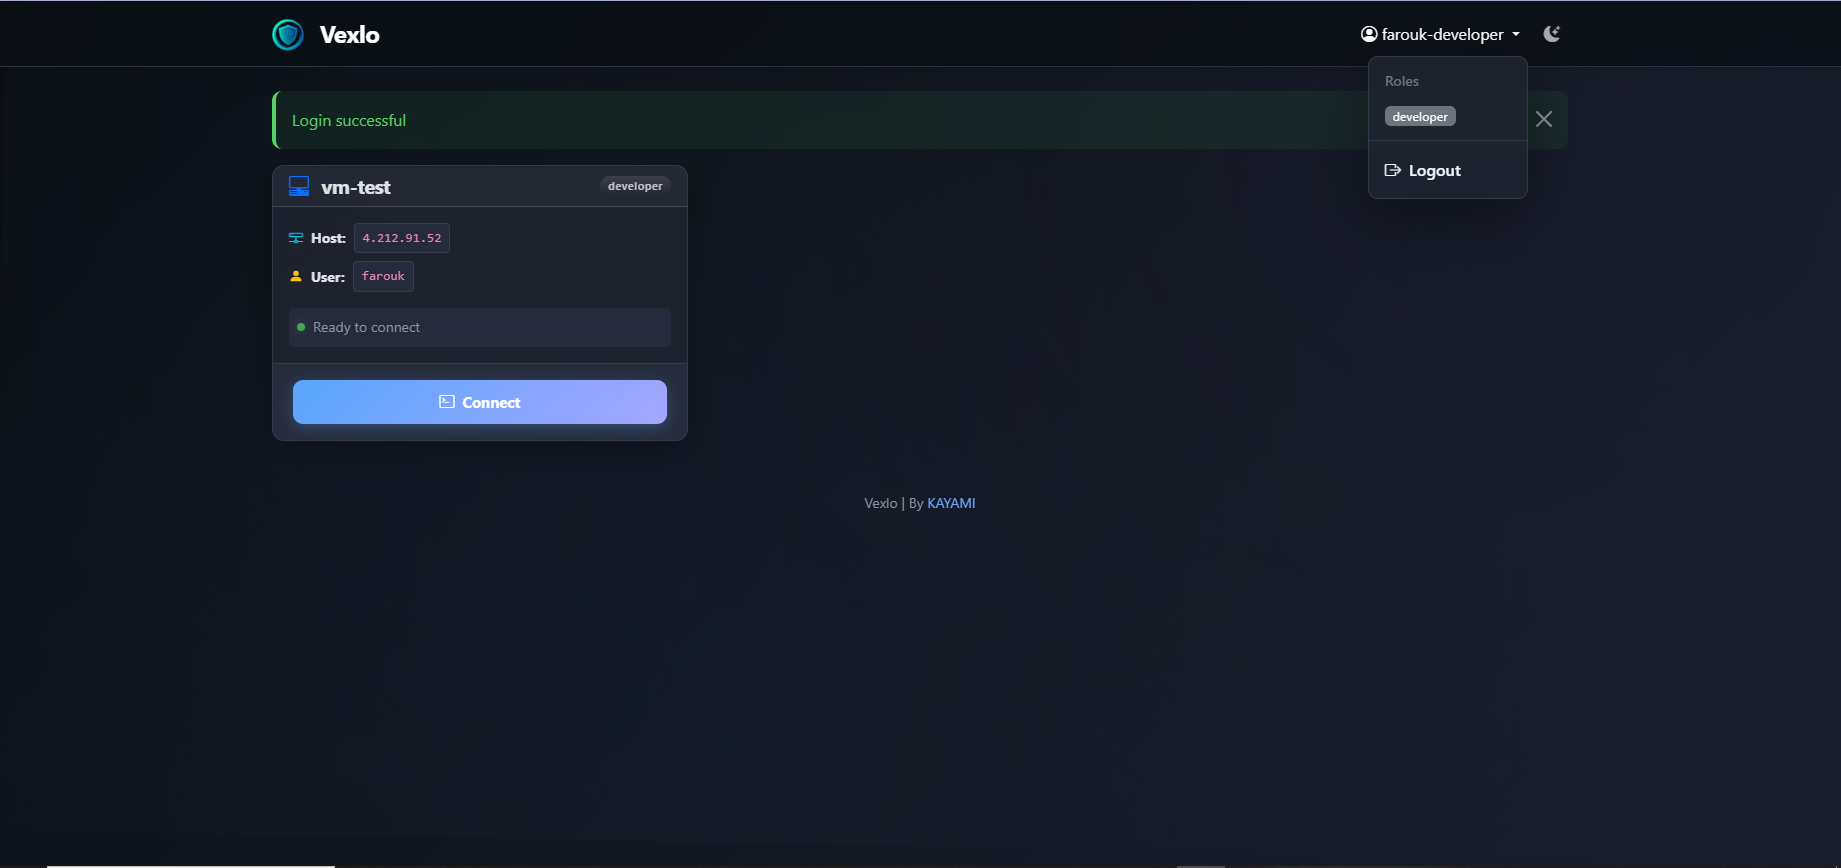
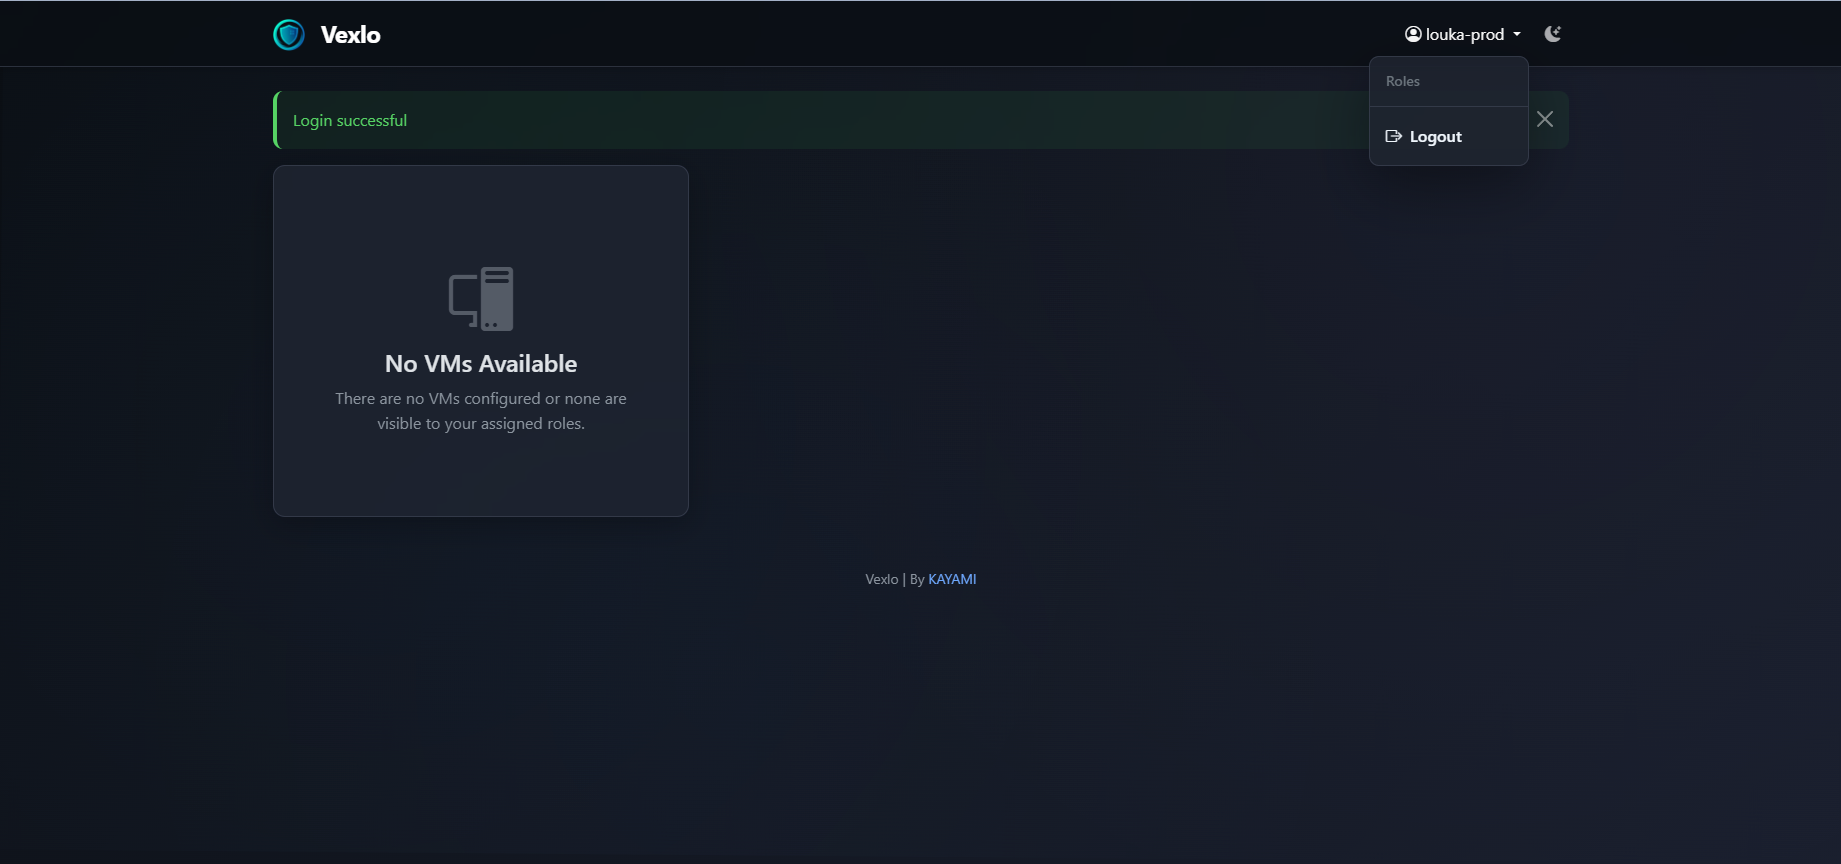
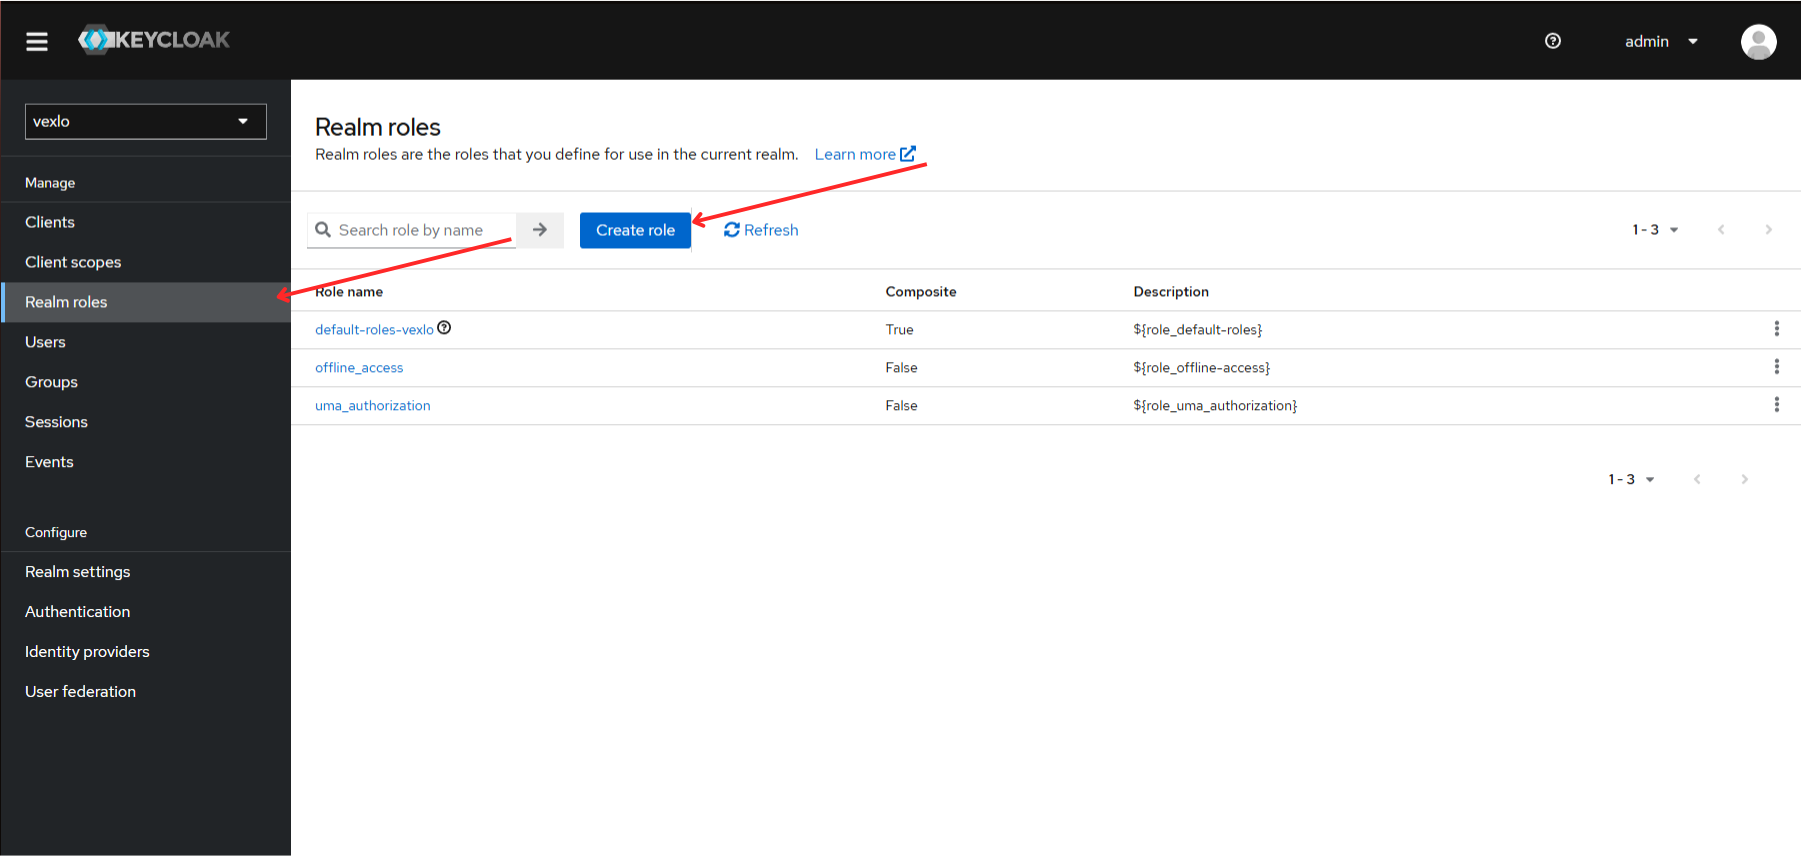
Create Custom Roles
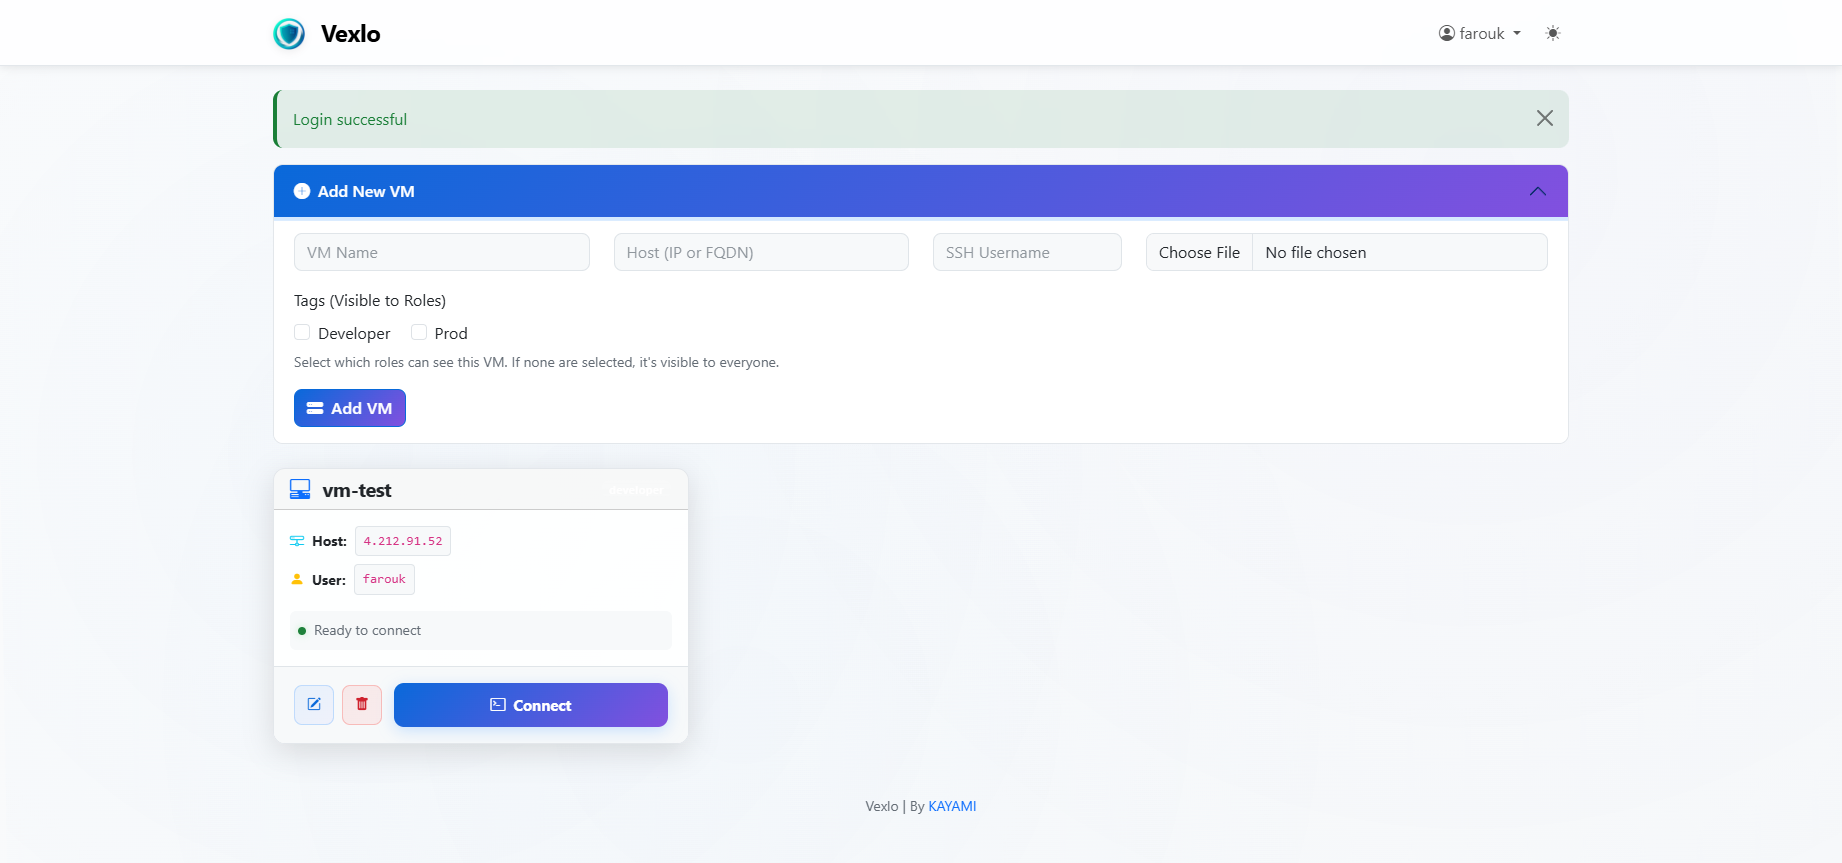
Create realm roles for your application. The admin role gives full privileges (add, delete, edit servers and manage everything). All other roles can only view and connect to servers.
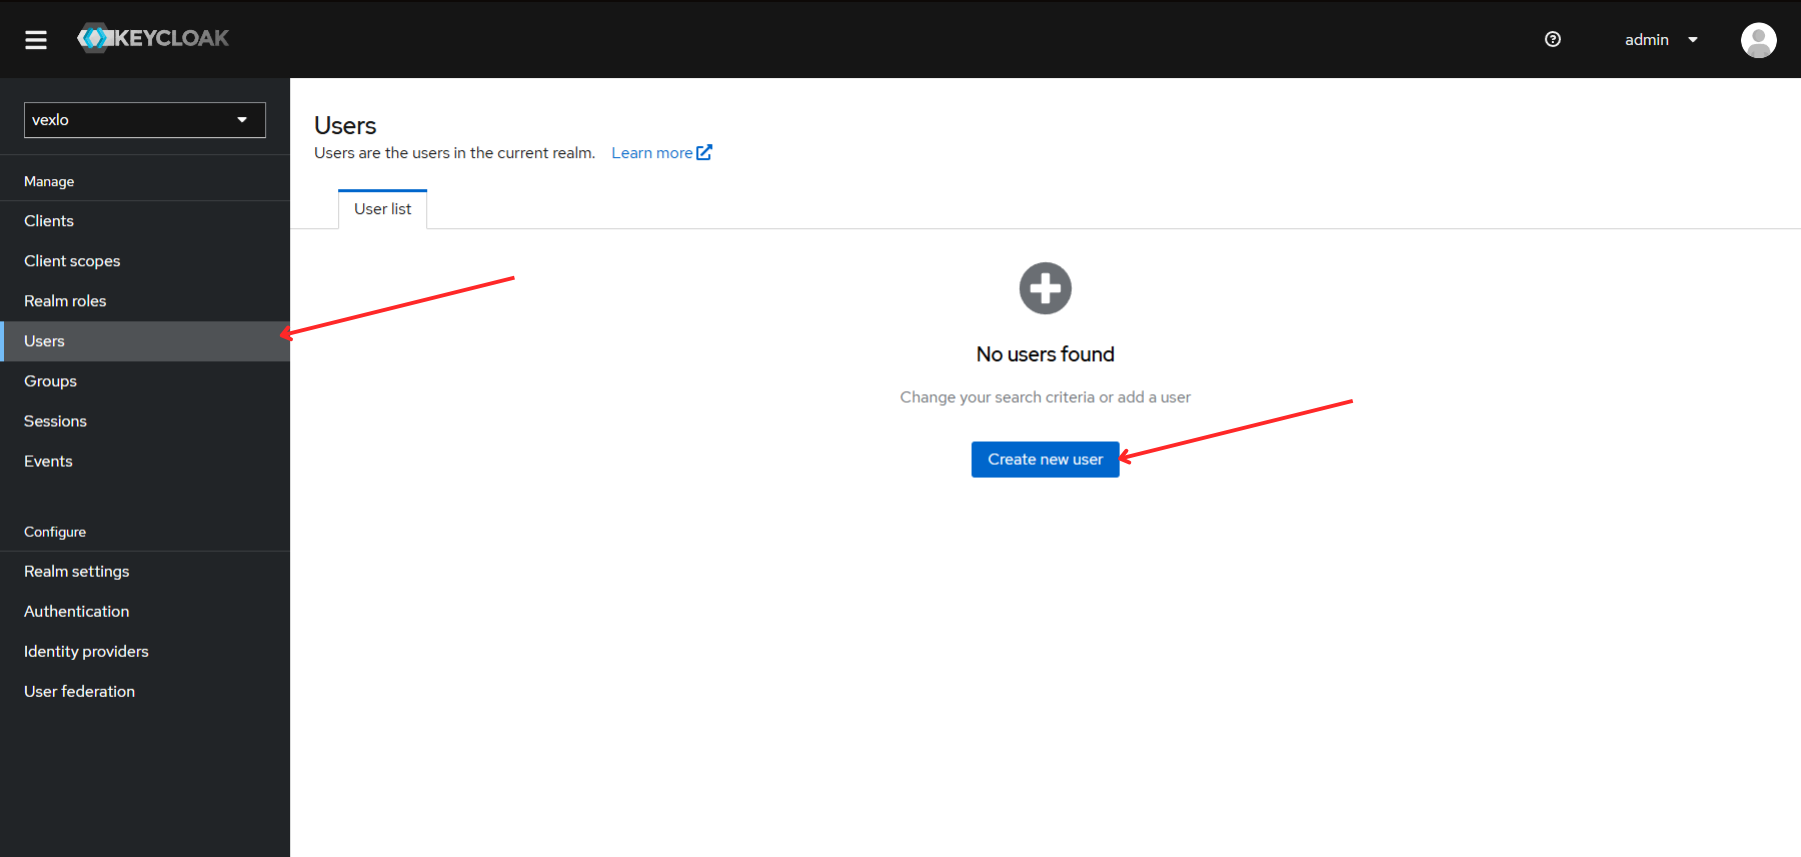
Create Users and Assign Roles
Create users from the Users section and assign the appropriate roles to each user based on their access requirements.